Viewing a plot
One of RABIT's premier features is viewing Bayesian inference plots. For a plot to be viewed, it must first be created. If you haven't already done so, read the plot creation guide here.
1. Navigate to the plots page
Navigate to 'Explore' from the sidebar, or go directly to the /plots URL.
2. Select a plot to view
Select which plot to view from the plots list

3. Parameter selection
From each class of parameter that was uploaded, select the specific parameters to plot
4. Modify the colour of the plots
Plot colours can be modified by selecting the colour box. Use contrasting colours for multi-set plots to enhance readability.
5. Reordering multi-dataset plots
Change the order of the plots using the arrow button. Lower order datasets will be displayed on top of higher order datasets.
6. Adjust plot sigma value
The plot sigma represents the number of deviations from the mean. Increasing this value will increase the spread of the plot. This value is set to 3 by default.
7. Adjust plot blur radius
The blur radius can be increased to filter noise from the data. This value is set to 1.0 by default.
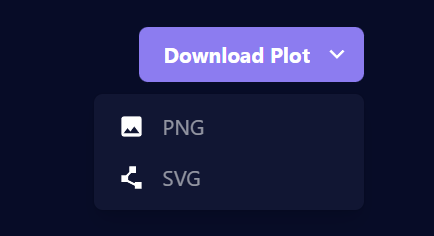
8. Save plot as an image
Plots can be saved locally in PNG or SVG format.
9. Generate a shareable URL for the plot
Create a shareable link for a plot. From the viewers perspective, the shared plot cannot be modified, but can be downloaded.
